
The Easiest Balayage Technique for Thick Hair
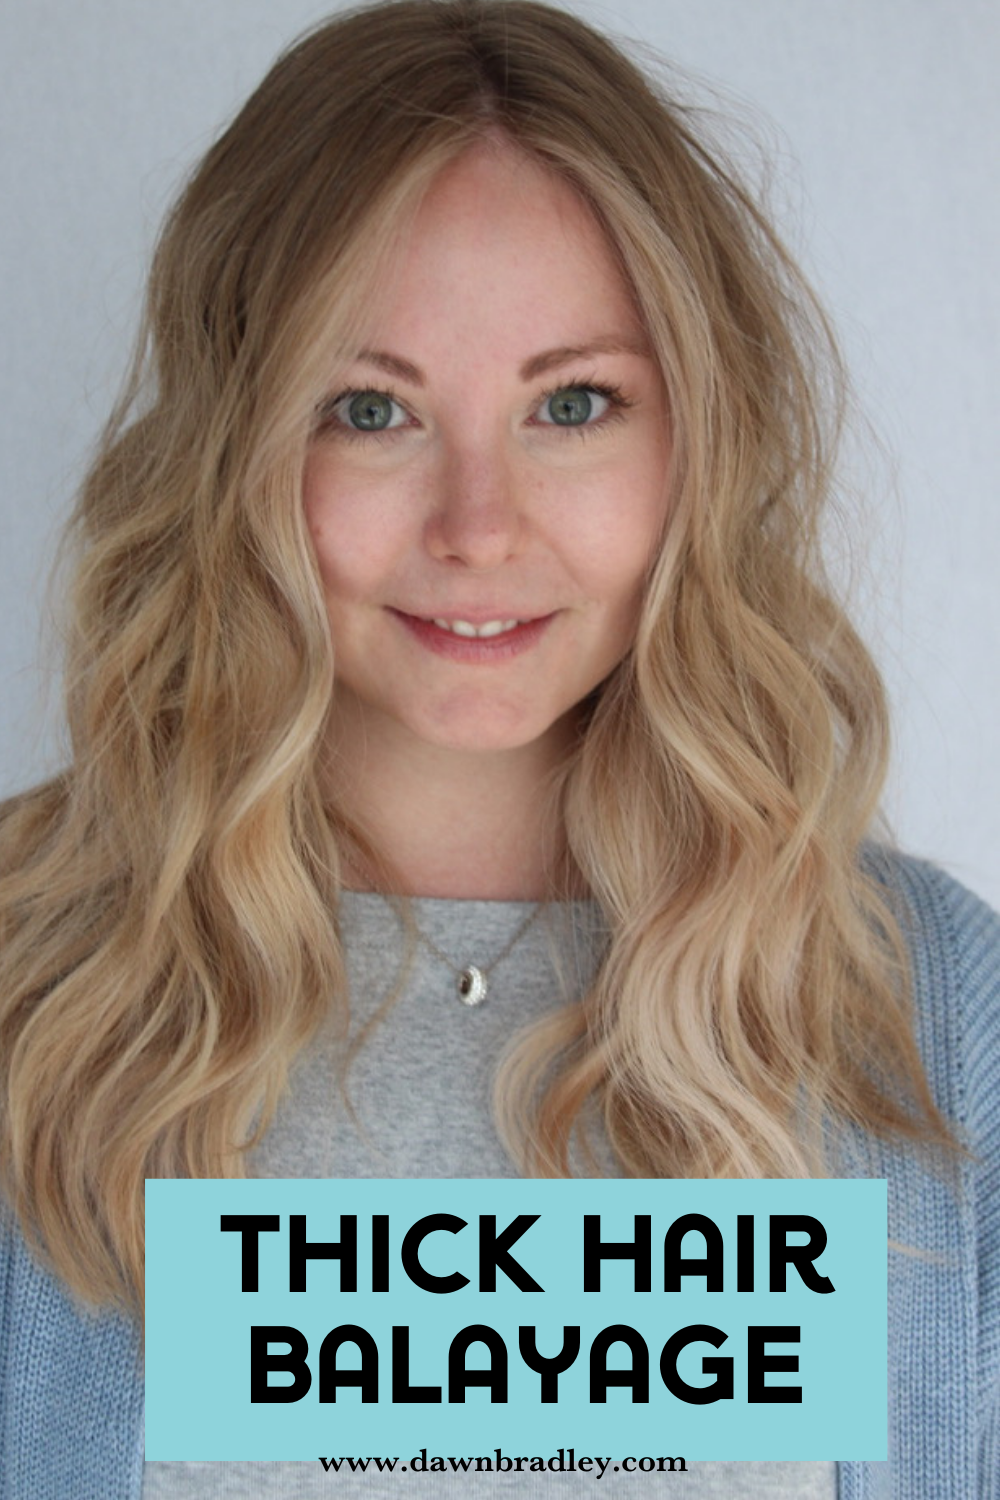
“natural & believable”
It was 3:30 pm on the Saturday before the holidays. I had one more client to go and I was itching to get my vacation started.
I had some festivities with my friends planned for right after this full-head appointment.
I took a look at my schedule to see who was coming in....
A new client.
That always stressed me out a little bit, I immediately started praying that they had “easy hair”. (Ya know that saying “don’t jump the gun”...? Yeah… that might have been good advice for me).
Then I heard the front door open and I peeked out from the back room…. Is that my client? I wondered…
As she took off her 15 layers of winter wear (HELLO CANADIAN WINTERS) I got closer to see what kind of hair this person had…
Her hair was pulled back and squinted to try to see...
“Come on lady! Turn around! I need to see what’s going on so I can mentally prepare.”
With my fingers and toes crossed I hoped for the best.
And that's when it happened...
She pulled her hair out from her pony and it was the thickest, longest hair I had ever seen.
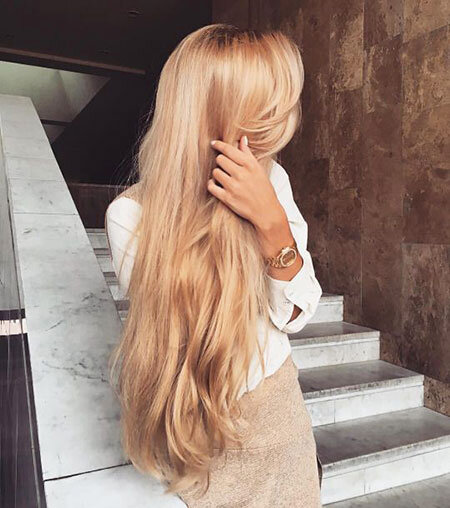
(Think Rapunzel and then add another wig onto it)
I legit think I may have momentarily passed out upon seeing it.
“How on Earth am I going to do a full-head on THAT in 2.5 hours?!” The nervous sweats started (and let’s be honest, the nervous poos were on their way).
As I scooted to the bathroom I heard the sweetest words I have ever heard:
“Hi, I’m here to see Carla”
OMG it wasn't my client. THE RELIEF! Holy cow!
I know you’ve stressed and hoped that “THAT HAIR” didn’t belong to your next client.
It wasn’t until I started using this simple balayage technique that I realized I didn’t have to stress over what kind of hair someone came in with.
This technique totally changed the game for me, especially when it came to those super thick haired clients.
With this simple balayage technique you’ll say goodbye to stressing about long, thick blonde hair clients and never have to shadow root or root smudge ever again.
Here’s the breakdown of the process:
Step 1: Start with cutting and de-bulking the hair to great movement and flow in the hair. I point cut my thick haired clients because I love creating texturized hair that moves.
Step 2: Mix up your clay lightener. (Want to know the simple trick to mix your clay lightener for max lift? Check out my video here)
Step 3: Starting at the back of the hair using “triangle-inspired” sections. I want the placement to look like my client spent the summer somewhere hot on the beach and the sun lightened her hair naturally.
PRO TIP: Go for balance, not symmetry when it comes to placing the highlights around the head
Step 4: When you get to the deep U or V section at the back of the head, you’ll start using perpendicular placements. Use your “U” shape as guidance on your placements
Step 5: Now you’re ready to frame the face. I want to replicate the natural highlights around her face. IMPORTANT: Remember to keep the hair off of your client’s face. I’ve definitely highlighted some eyebrows before.
Don’t forget the hidden hairline with all the baby hairs
Step 6: To make the “money piece” really pop I apply on the part line as well as on the interior of the piece. Remember that in order for this piece to really stand out we need contrast around it. I don’t highlight right beside the “money piece” so that there is deep contrast between the piece.
Step 7: Because you created the blend right on the hair, you only need one toner.
Step 8: Dry and style
Step 9: Take some kick a** photos of your beautiful client
3 important things you must have when doing open air hair painting:
Tension
Elevation
Pressure
I can’t wait for you to transform your Rapunzel-esque clients with the brightest, bombest blonde balayage.


Go on, binge the latest posts (you know you wanna)…


