
Red Head Balayage Tips For Every Hairstylist
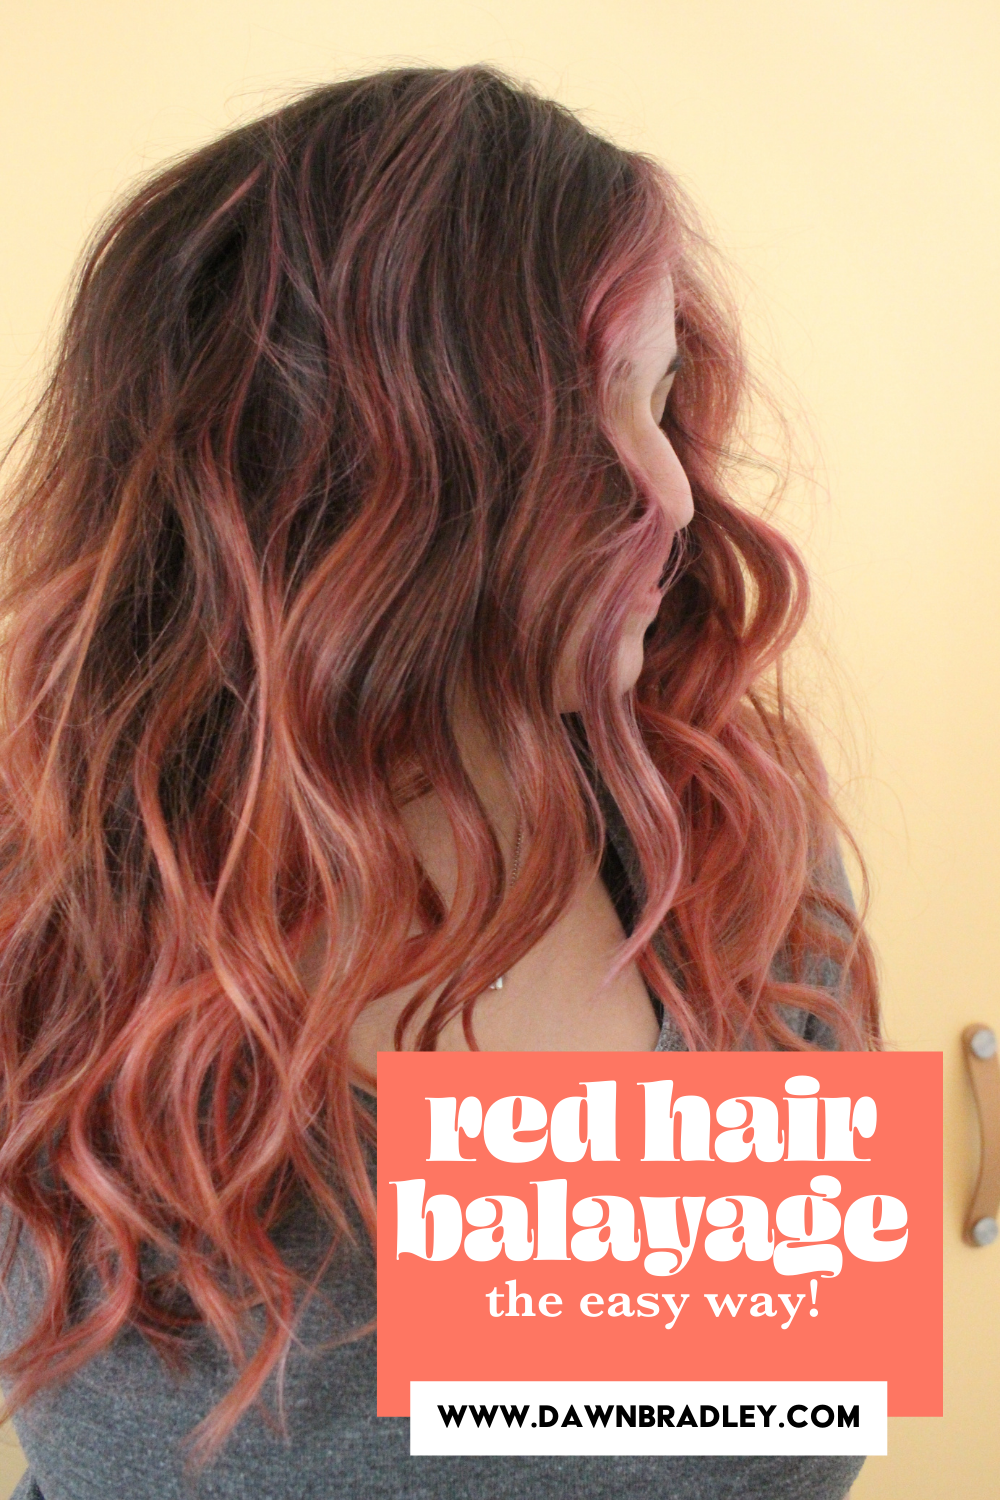
“create natural-looking, vivid red hair”
Can you believe I’m gonna start off another blog post telling you about a fail I made in my early hair years?
Yup… If you saw my post on Instagram the other week I told you I’ve failed my way to success. And that’s so true.
Red hair has become more popular in recent years, but back when I first hit the industry it was mainly blondes and brunettes, and I got really comfortable with them. And I didn’t really work with a lot of red hair.
So when a client came in looking for a way to bring her back to her “natural” red hair roots, I felt sure that I could give her what she wanted…
Until the end of the appointment when she ended up with fire engine red hair 🚒 (not the most natural-looking color…)
After that, the moment someone even started mentioning “red” I would try to lead them towards the safety and comfort of blonde and brunette. Even go so far as to tell them I didn’t think it would suit them (just because I was so scared).
The good news is this story has a happy ending. I finally got over my fear of coloring red hair!! I learned the color wheel, I practiced, and I got better. Red hair color doesn’t scare me anymore. (Turns out natural red hair is more golden than anything :-) )
In fact… I find it really fun to do!
So if you’re nervous about messing up that red hair or that balayage, I’m giving you all the tips and tricks so that it turns out beautiful! Here’s how my video tutorial breaks down:
How to Foilyage/Balayage Red Hair
Step 1: Mix up your lightener
I’m using Redken Flash Lift with both 20 vol and 10 vol
Step 2: Start with applying at the nape of the neck
I always like to start at the back, ever since I had a client have a heat reaction. In the event that a heat reaction were to happen.
PRO TIP: Take sections parallel to the hairline with a combination of weaves and slices
Step 3: Use back to back foils around the face to create brightness
You won’t go right up to the root, but it’s going to be pretty close
PRO TIP: To give your client the most bang for their buck concentrate on getting their hairline and around their face really bright.
Step 4: Once foils are all applied, using your same lightener, open-air balayage the hair left out of the foils
Step 5: Rinse and apply toner at the sink
I used 10VV and 9V of Redken Shades EQ (check out the video to see how her hair toned at the sink). I chose to tone, despite doing a red color, so that I could have more of a blank canvas when applying the color.
Step 6: Apply a root shadow about half an inch down to soften the demarcation line and allow for more natural-looking growth
Step 7: Apply overlay color and let process
I’m using a combination of silver from Pravanna Vivids, Cleopatra from PulpRiot and Rouge Blush from Eugene Perma. I did not mix these to a ratio, but to a color that both I and my client liked.
Step 8: Rinse, blow dry and style
Don’t forget to snap pics of your banging, redhead balayage!
I wanna know, will you try out this technique (or a variation of this technique)? Shoot me a message on Instagram @dawnbradleyhair. I seriously LOVE hearing from you!


Go on, binge the latest posts (you know you wanna)…


